Toshiba Satellite P755-S5265 Laptop Screen:

First lets see why it needed replacement:
A large object accidentally hit the screen
and made it unreadable.
I went to www.LaptopScreen.com and ordered the
replacement. After it arrived these are the steps undertaken:
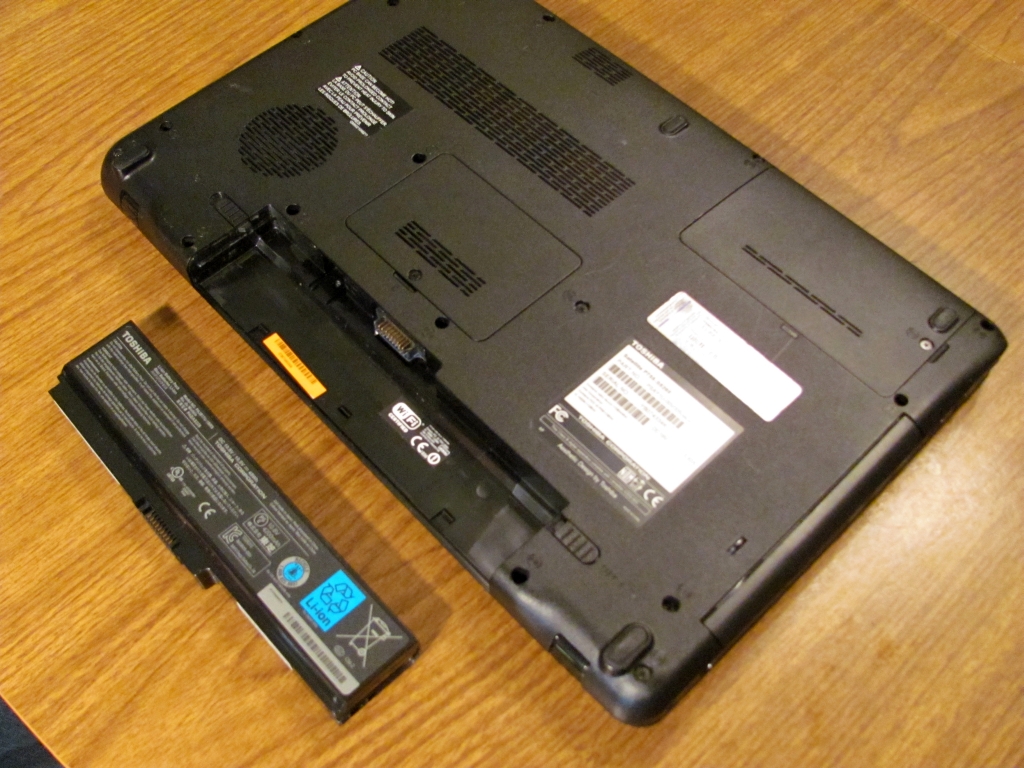
First I powered down the laptop and removed the battery.
Turned the laptop right side up and noticed small circular covers
over screws at the 4 corners of the bezel around the screen.

Removed the small circular disks (covers) so that I could then remove the 4 screws holding the bezel to the screen.

Now removed the 4 screws.

The bezel was now carefully pried from the screen, but it was still kept in place around the hinge structure where the screen met the laptop body.
Opened the screen to its fullest extent so that extensions on the bezel above the hinge could be carefully lifted off the hinge; thereby freeing the entire bezel from the laptop.

At the top of the screen was a very small connector (evidently it feeds the webcam at the top of the screen). This had to be disconnected - HAD TO BE VERY CAREFUL - sliding the connector pieces apart.

The actual screen (to be replaced) was held by several screws around the side of the rim. Unscrewed and saved these screws.

Placed a cloth (or protective paper) on the keyboard and then placed the screen (which was now loose) on the keyboard.
Crossing the middle of the screen was a cable which was disconnected from the webcam earlier. On the end near the hinge was a connector which had to be unplugged from the screen.

This screen connector was very delicate. This connector must be disconnected without doing damage; i.e. VERY CAREFULLY.
There was a piece of tape across the connector which had to be pealed back to allow the connector to disconnect.
It might help to note that each side of the connector had a small tab which, when pushed simultaneously, helped pull the male socket from its female mate.
Once the connector and wire (to webcam) were freed, the screen could be discarded (removed) and the new screen installed carrying out the above procedures "in reverse":
I placed the new screen on the keyboard, attached the large connector (CAREFULLY inserting the male connector into the female socket). Reattached tape on top of connector so it cannot loosen. Lifted screen into its frame making sure the "webcam" wire stuck out the top of the frame so it could be reattached.
Reattached the webcam wire into its socket; then replaced screws around frame.

Snapped the bezel back into place starting at the bottom by the hinge. Replaced the 4 bezel screws and the cover plugs (to hide screws) and we were through.

This was much easier than anticipated; it helped to be able to find the precise screen needed at
where one enters the make and model to find screen options.